How to build robots at home
There are 3 main areas you need to tackle to build a fully functional robot
1. Manufacturing
2. Electronics
3. Software + Math
Manufacturing
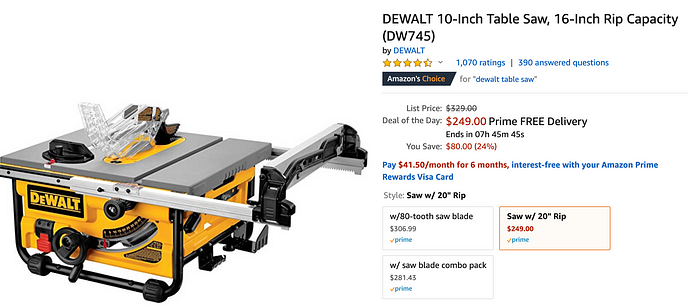
Back in the day you had 2 options here both of which needed a dedicated garage.
Woodworking
if you don’t mind having 9 fingers and splinters all over your arms and feet. I want to eventually learn some woodworking so I can make my own furniture but for robots I’m going to hard pass.
Welding
If you have enough room for a furnace and you’re not afraid of blowing yourself up and are in top physical shape. I took 16h to weld a steak knife and I could barely feel my arms and shoulders by the time I was done.

3D printing
Fortunately, 3D printing has made the manufacturing process waaaay easier and cheaper.
I have a Monoprice Mini, it works great and costs less than $200. If you’re just manufacturing stuff for yourself this is a great first printer. If you can afford it, it’s probably worth getting one with a larger printing bed so you can print larger parts but it’s not a must.

You can go to websites like Thingiverse to download various pre-made designs.
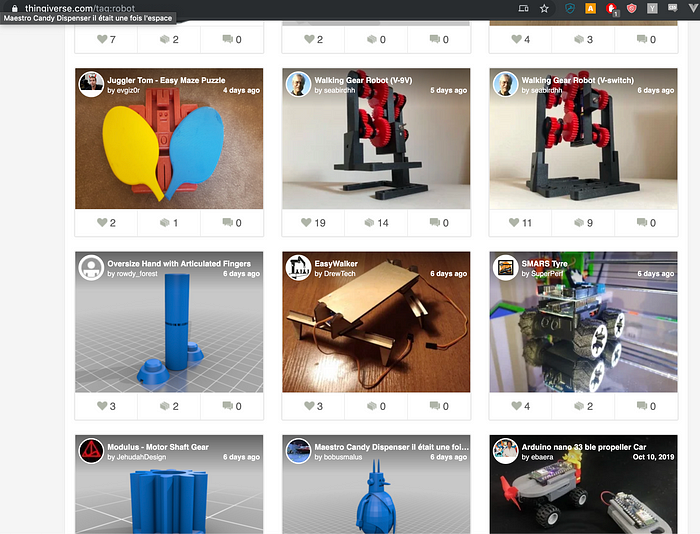
If you need to print specific parts with specific dimensions and shapes, then you need to use CAD. Again up until recently CAD software was about as user friendly to use as Vim, tinkercad.com has made designing blueprints a joy for me. You can manipulate basic shapes and easily poke holes in them to fit your wires and circuits.

Once the design looks good you can import it to Ultimaker Cura to get a design that works specifically for your 3D printer and then export the design to an SD card which you’d just hook up to your 3D printer and start printing.

Even for a printer as cheap as the Monoprice Mini, you can get details that look like the ones in the skull below. Good luck being that precise with wood or steel.

Use your old stuff if you don’t feel the need to design a custom part. A Tupperware for example is amazing because you can use it as a container for all your circuits (coming next), you can poke holes in it to connect your main circuit boards with different endpoints like robot joints or wheels.
With the impending end of the world coming soon, you need to scavenge all the parts you can.

Electronics
Getting ready
Electronics is obviously a massive field you could spend your entire life mastering it but there’s a few tricks we can use to make the learning process more efficient.
It’s worth investing in at least one good textbook to learn more about digital circuit design. My favorite is the Art of Electronics but I’ll warn you that it’s one of the densest books I own.

Next you’ll need a buy a multimeter — they’re pretty cheap. Think of a multimeter as a print() statement in regular software. It makes it easy for you to debug what a certain chip or endpoint is doing.

Next time a piece of hardware you have dies, take it apart and see how to fix it. There’s a handful of reasons why most hardware fails
- Water damage -> scrape off the rust and pray
- Dead component -> compare voltage you’re getting vs what the hardware sheet says you should be getting. Chips have a nametag which makes googling their sheets and learning how they work really easy

Electronic brains
If you can’t find a replacement for a dead chip you can disassemble most electronics for useful spare parts.
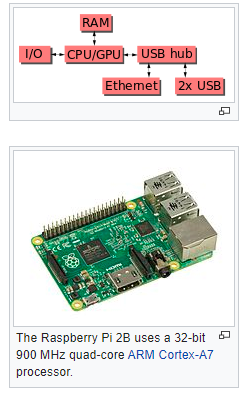
You’re going to need an easy to program micro-controller on which to run your control software and there are two obvious candidates here. Arduino and Raspberry Pi.
You can figure out what each component does by using westfw’s annotated Flickr image. It’s all open source so you can download the sheets and figure everything out quickly

Arduino has various shields which help with all sorts of low level control and sensors signals.

The code you’ll write on an Arduino is pretty much low level C.

C works fine for the most part but if we’re programming more abstract and complex algorithms like Deep Learning algorithms, it’s worth using a Raspberry Pi to do the main processing. The Pi is a mini Desktop computer. You can even bridge a Pi to an Arduino to separate your data processing from your data collection and actuation.

Tons of inspirational projects exist with detailed schematics and code on
- https://create.arduino.cc/projecthub
- https://www.reddit.com/r/arduino/top?t=all
- https://www.reddit.com/r/raspberry_pi/top/?t=all
Going pro with Electronics
Working with electronics as a beginner can be intimidating because you can either electrocute yourself or burn your hardware. So you really need some experts to show you the ropes so you can start more confidently tinkering. These Youtube Channels were all an incredible resource for me.
- ElectroBOOM is hilarious masochist who will teach you low level circuit design and physics
- BenEater will give you a good understanding on how to design logical circuits, so think building a CPU or GPU using circuit components and Arduinos
- TronixFix repairs various kinds of electronics equipment. I especially enjoyed his tear-downs of video game consoles
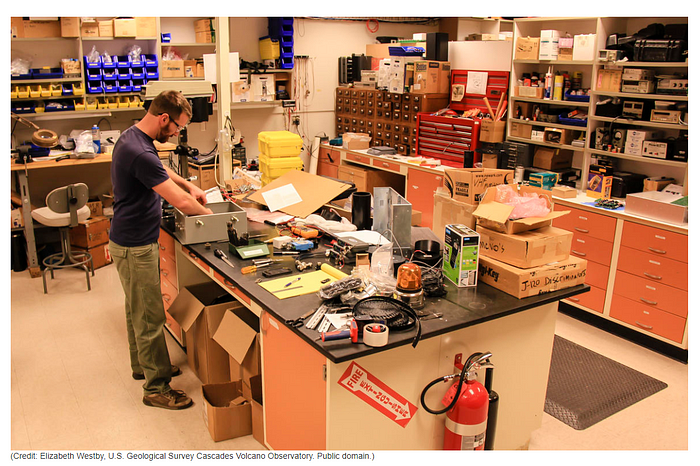
Eventually you’ll probably need a fully equipped electronics lab including
- A fume hood so you don’t get lung cancer
- A microscope so you can reverse engineer ICs (this is pro level tho)
- An oscilloscope, power supply and a digital logic analyzer like Salae, you CAN build cheap substitutes using an Arduino and a breadboard but it’s extremely unlikely you’ll build something better on your first try
If you’re looking to eventually mass produce your robot you’ll need to use a cheaper micro-controller than an Arduino/Pi and print your circuit on a PCB board. You don’t need a special relationship with a factory manager and can use a tool like JLCPCB to manufacture PCBs cheaply. You just import a Gerber file which you’d create in any CAD program.
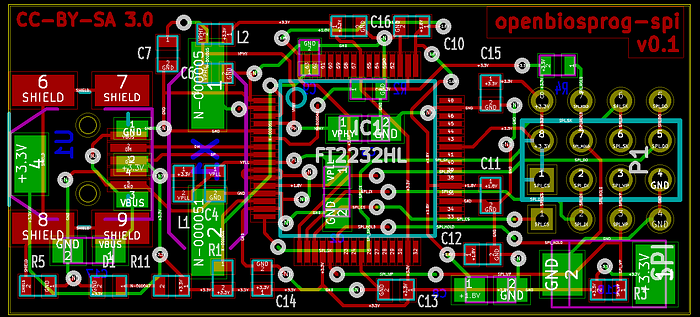
But honestly you can get pretty far by just scavenging what you can find around your apartment and ordering the occasional electronic part from Amazon or AliExpress. You gotta have the Mad Max mindset.
Software + Math
Build your simulation and training Desktop PC
Most of the algorithms you’re going to need to run are CPU and GPU intensive so you really need to build your own PC as a first step.
There are a bunch of websites that let you create your own notebooks with barely any setup where you can experiment with various control algorithms. However, all these services have very expensive GPU setups.
Even services like AWS/Azure/GCP won’t be worth it until you’re running a large distributed operation which you won’t need to anytime soon.
So you gotta build your PC and this has never been easier if you join the right online communities that will hold your hand through the process
Both of those forums will help you build your first PC. Building a PC is pretty much like assembling Lego not so much circuit design so to order your parts make sure to use https://pcpartpicker.com/ which create a nice cheap checklist. Buy 1–2 year old hardware and you’ll get an incredible machine. No need to spend $3,000 on the Titan X_666_GAMER_999.

An (u)intended? consequence is that you also accidentally build yourself a gaming machine and ascend. Your roguelikes won’t be CPU bottlenecked, your 120 FPS means you won’t cyka up your shots and you’ll get to see every single hair on Geraldo’s glorious beard.

Back to robots.
Build a simulation
Your algorithms needs to first work in a computer simulation before you even try getting them to work on real hardware. The best way to do this is to use Unity ML agents where you can program a simulation of your robot. Unity is arguably the most user friendly game engine out there today.


Learn how to build simulations from the best
You can program any simulation you want with a deep understanding of Unity which you can get by osmosis by
- watching programming sessions like Mix and Jam.
- Another option is to disassemble some complete games you own via ILSpy.net which works reliably for most games made in Unity. (Please don’t tell anyone I told you this and for the love of gaming don’t put the disassembled code online)
- Github.com archeology — Google <fav_game_genre> <fav_language> to get an idea of how to build any game
Learn how simulators work
It’s also important to invest some time into the basics and get better at Computer Graphics and Projective geometry so you can create whatever you want on a screen. The skillset will translate over and let you hack on AR/VR projects as well. My favorite references are:
- https://graphicscodex.com/ — the best cheatsheet
- https://nathancarter.github.io/mocg/site/index.html — the best intro textbook
- https://thebookofshaders.com/ — the best book on shaders
Reinforcement Learning for training
Once the rules of the simulation are defined and your goal is well defined you can train Reinforcement Learning Algorithms to get the desired behavior. ML agents makes this trivial if you follow their interface and you can experiment with extremely complex robot environments almost trivially.
Reinforcement Learning is an vibrant and active research area with many algorithmic advances coming out seemingly everyday so it’s worth learning the basic framework. An agent loops by trying different actions and observing different rewards for those actions given the state of the environment.
The agent then tries to maximize its reward. The promise of Reinforcement Learning is that programming robots can be turned into a declarative exercise (this works because of automatic differentiation), so theoretically programming robots should be as simple as a SQL query without joins.

This is the basic framework but it can be modified in a bunch of ways see for example A (Long ) Peek into Reinforcement Learning. But if you really wanna grok it I would highly recommend you buy yourself a copy of Deep Learning and the Game of Go which has recently become my favorite introduction to both Supervised and Reinforcement Learning.

Generalize from simulation to the real world
Finally you need to make sure your algorithms are stable in the real physical world. Your robot can’t be flailing around and terrifying your cat.
You can do this with various old tricks from the control theory community including PID controllers which will make sure your robot won’t flail dangerously around by bounding the variation if your changes.

Also creating new training environments is essentially free you can simulate an agent in tons of different environments and help it generalize its behavior to the real world better.
Once this is all done, importing your model from your Desktop PC to your Arduino and Pi should be trivial. Projects like Tensorflow Lite will become more user friendly over time.
What’s next?
And that’s it! You should be able to build your terminator robot army now or just build something that will help you fold your t-shirts. Regardless, I hope you had fun reading this and let me know if you found it useful.
Building robots is hard but not as hard as you’d initially think.

I’m writing “The Robot Overlord Manual” a Software/Math book which comes out at the end of this year. By the end of it you’ll feel comfortable tackling hard software problems in Robotics.
I’ll be covering topics ranging from
- Applied Algebraic Topology to solve 3-d robotic movement
- Framing supervised learning in the language of Category Theory
- Reinforcement Learning
- Distributed Decision Making w/ Dynamical Systems, Game Theory and Gambling Theory
So please subscribe and I’ll email you as new chapters get released.
